PowerPoint is the most popular platform for creating presentations. However, professionals from corporate fields need more productivity while creating presentations in PowerPoint. That’s why they use multiple add-ins to enhance their work efficiency.
One such add-in is Efficient Elements, which offers various beneficial functions. You can execute editing and formatting quicker with the Efficient Elements. It also makes data visualization easier by displaying graphs and charts proficiently. You can also add icons, shapes, and illustrations instantly with the help of Efficient Elements. Therefore, you should use Efficient Elements for presentations to boost productivity.
In this article
Part 1. Getting Started with Efficient Elements
To download the Efficient Elements add-in, navigate to its official website. Click the Download button and specify your operating system. Wait until the installation process is finished. Afterward, follow the on-screen instructions to launch it on PowerPoint. Ensure to activate its license for its free 30-day trial.
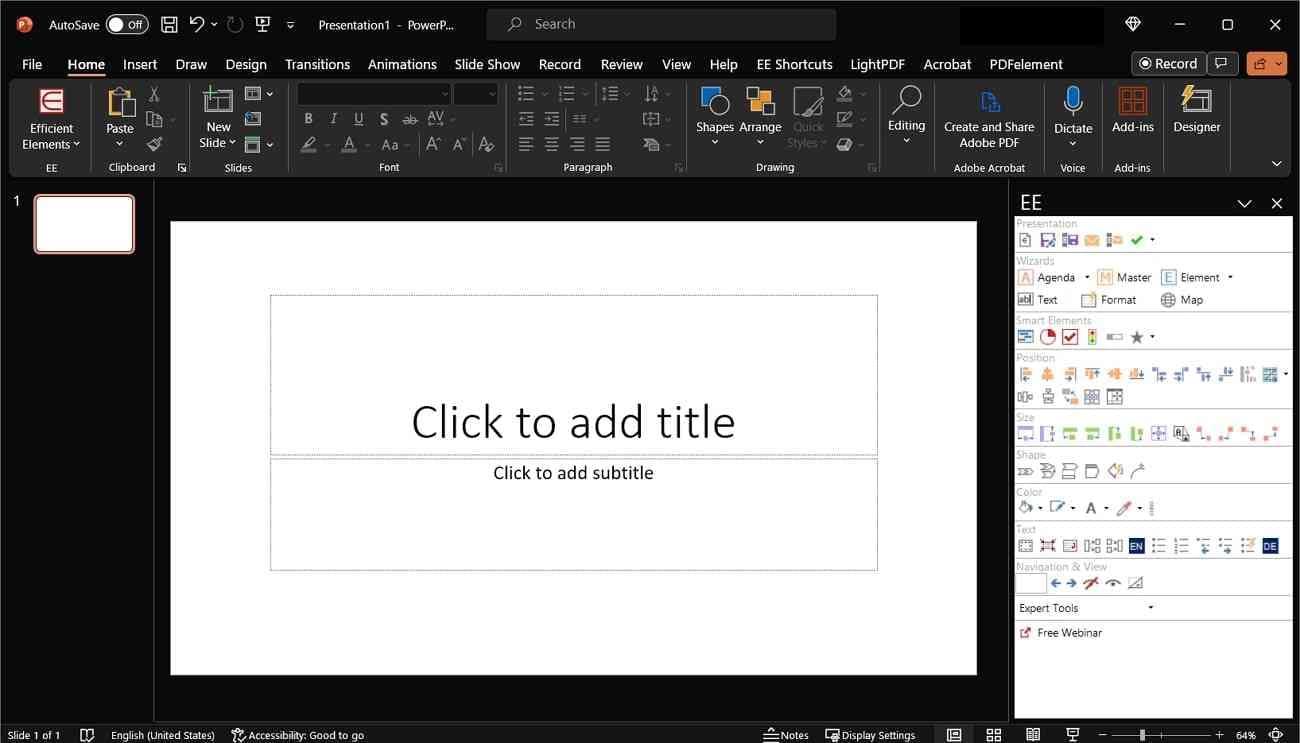
After the successful launch, you will be able to see the interface of the Efficient Elements in the right section. From there, you can select each option to create and edit your presentation. You can also find multiple wizards for content creation. For example, text wizard, format wizard, element wizard, master wizard, etc.
Part 2. Key Features of Efficient Elements for Presentations
Efficient Elements consist of many unique features. This section will provide a detailed overview regarding the main features of the Efficient Elements. Thus, let’s dig into the details below:
1. Agenda Wizard
This PowerPoint Efficient Elements Wizard assists you in adding agenda slides to your presentation. It automatically determines time slots and page numbers with great proficiency. If you have multi-day meetings, an agenda wizard can generate multiple agendas for you. It can also hide sub-items in your slides.
Moreover, it can automatically insert line breaks in the slides. While creating agenda slides, you can customize layouts according to your corporate field. You can change the layout design, sizing mode, and font size from the settings. It also lets you export all agenda slides to .xml instantly.

2. Element Wizard
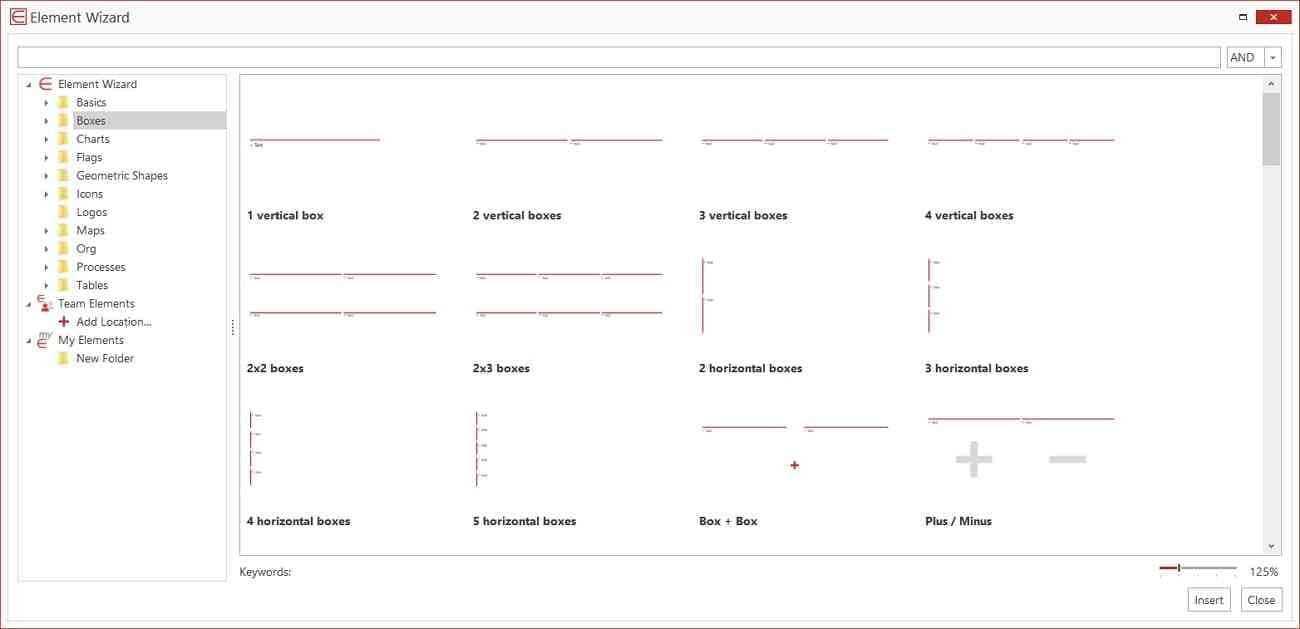
Element Wizard helps you in adding useful elements to the slides. There are many box layouts like vertical boxes, horizontal boxes, action reactions, implications, separation, etc. You can also include charts, data-driven diagrams, manual diagrams, and boxes. To explain your content briefly, you can also insert tables, logos, flags, and shapes.
You can also add your company’s slide collection to its custom edition. By doing so, you can add customized elements relevant to your company in the slides. Furthermore, you can create a separate folder for your team elements. It will make easy collaboration while working on team projects.
3. Text Wizard
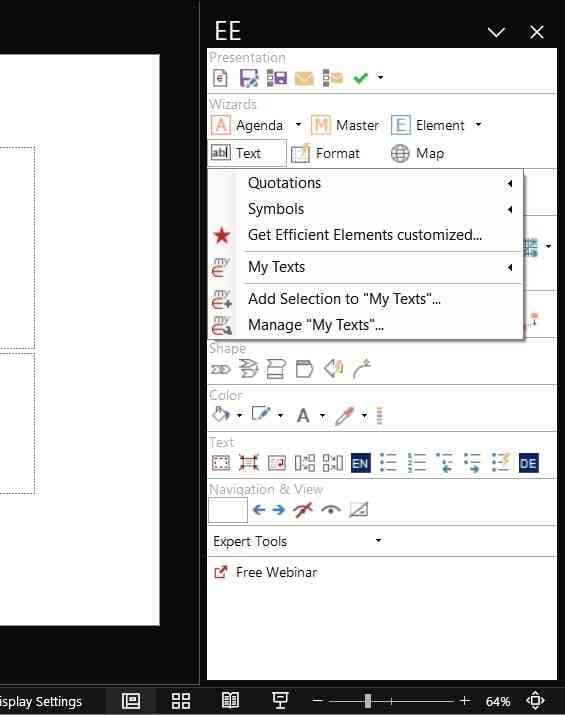
Text Wizard helps add text snippets in the slides within a few clicks. It lets you add quotations from various options, such as single quotes, unquotes, etc. Moreover, you can add multiple symbols like copyright, trademark, arrow, plus, minus, etc.
It also allows you to add symbols related to conventions for numbers, abbreviations, and addresses. By using the feature "My Text," you can add your text snippets. This will make it easier for you and your team to add personalized text snippets with a single click.
4. Format Wizard
With Format Wizard, you can set predefined formats on specified objects. You can adjust attributes for the size and position of your desired objects. Moreover, you can change the settings of paragraphs, bullet points, and text options. By doing so, you can ensure consistent formatting in all the slides. Moreover, you can execute precise positioning of the selected objects easily.
By using the "My Formats" option, you can define your custom formats. Furthermore, using "Manage My Formats," you can import and export the collected formats flawlessly. Thus, the Format Wizard helps in the efficient formatting of PowerPoint slides.

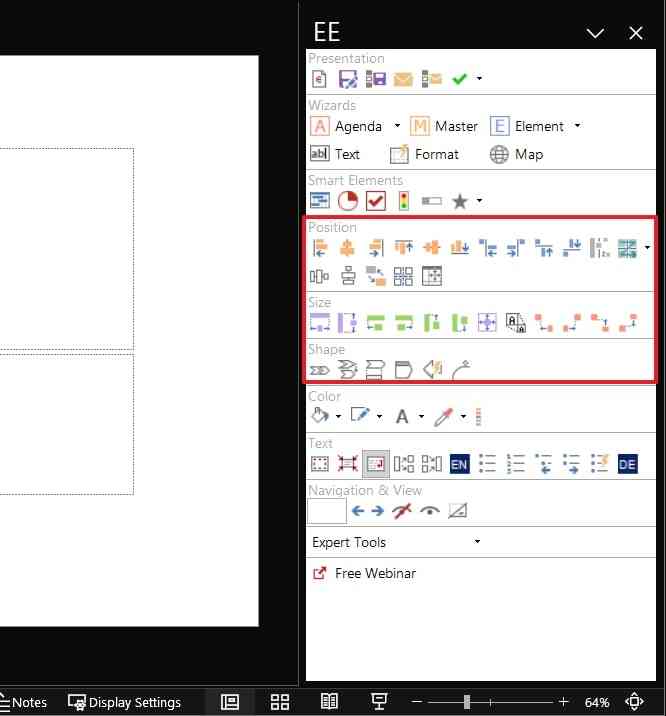
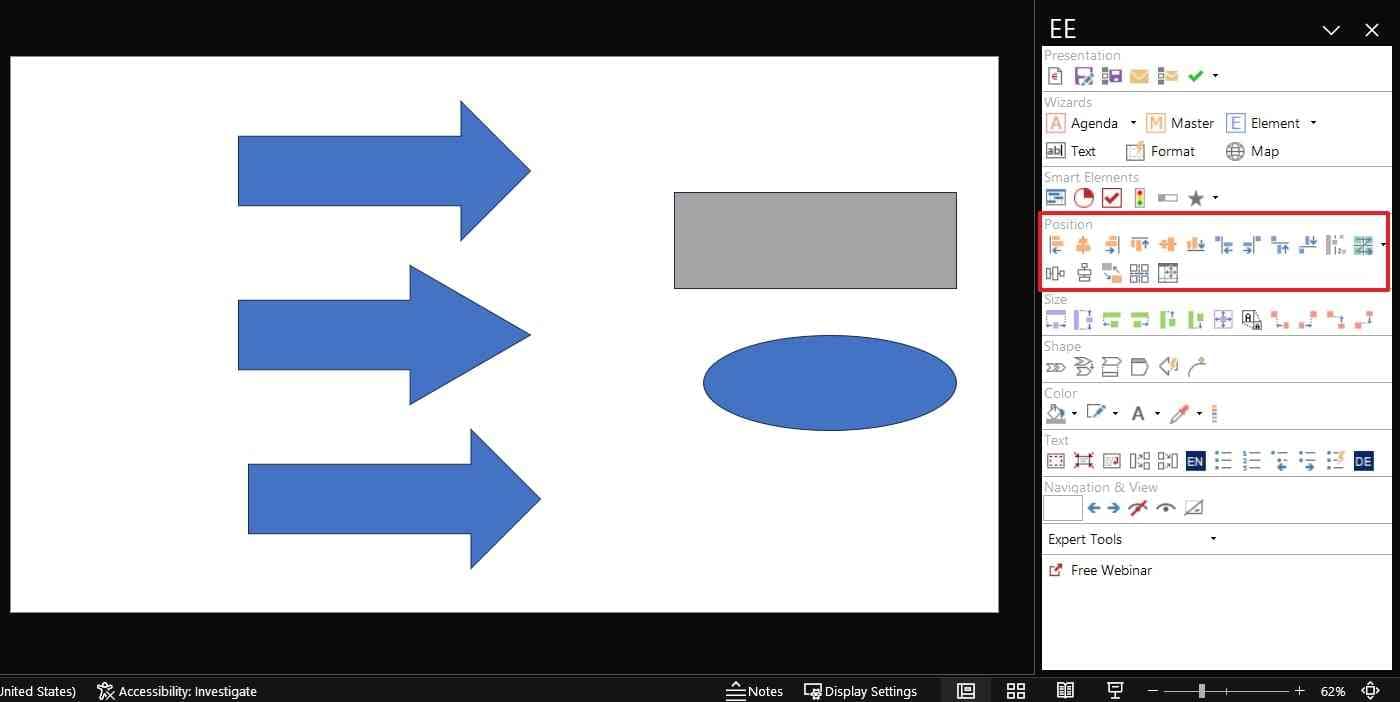
5. Position, Size, Shape
The Position section allows you to adjust the alignment of the objects with precision. You can select a master object that will act as a reference object for positioning and resizing. Using the given options in this section, you can align right, dock right, switch, and distribute horizontally.
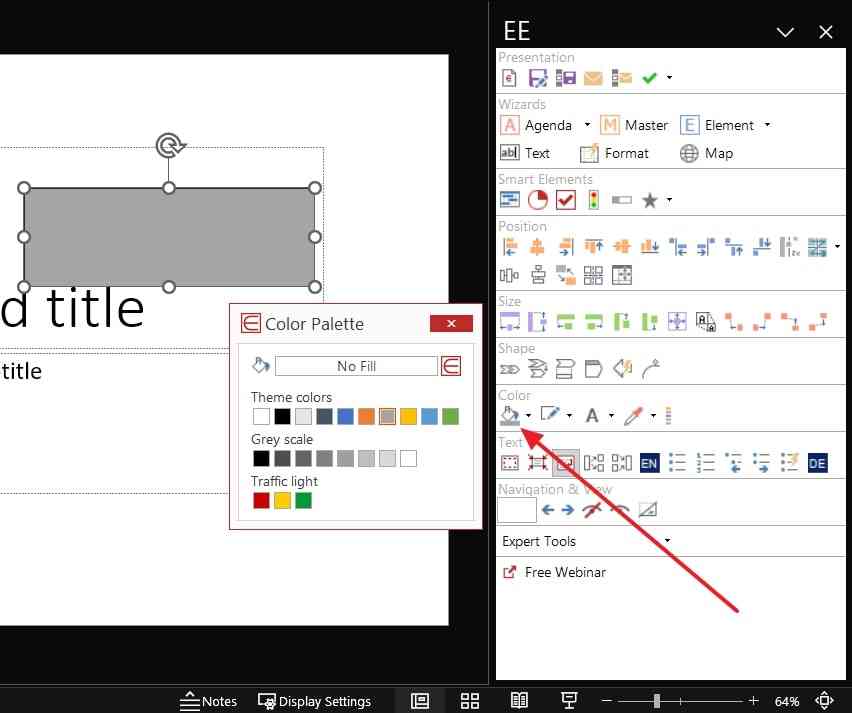
Similarly, the Size section determines the size of your elements. It offers all the essential tools through which you can stretch and adjust the width of the elements. With the Magic Resizer option, you can resize the desired objects to a relative size.
On the other hand, the Shape section allows automated adjustment of shapes. For instance, you can align block arrows and angles easily. Similarly, you can adjust the pentagon header flawlessly. With such options, you can add accuracy to your objects and illustrations.
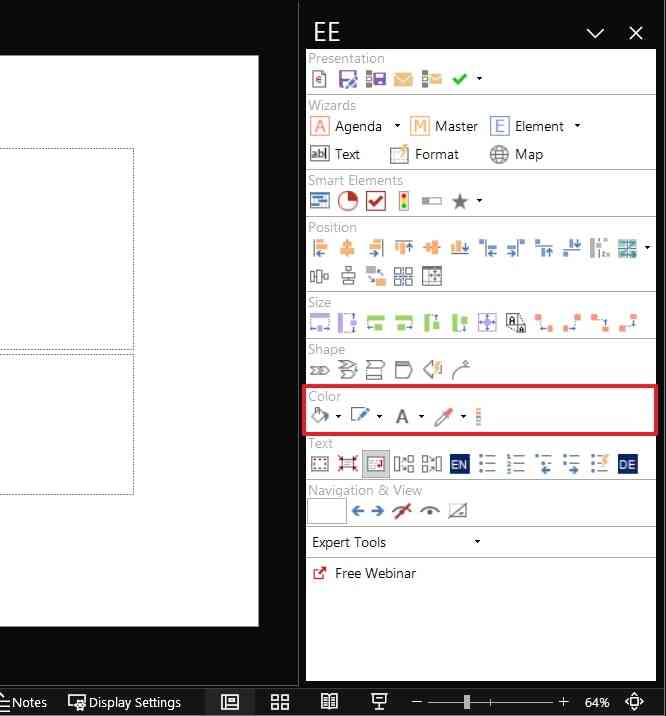
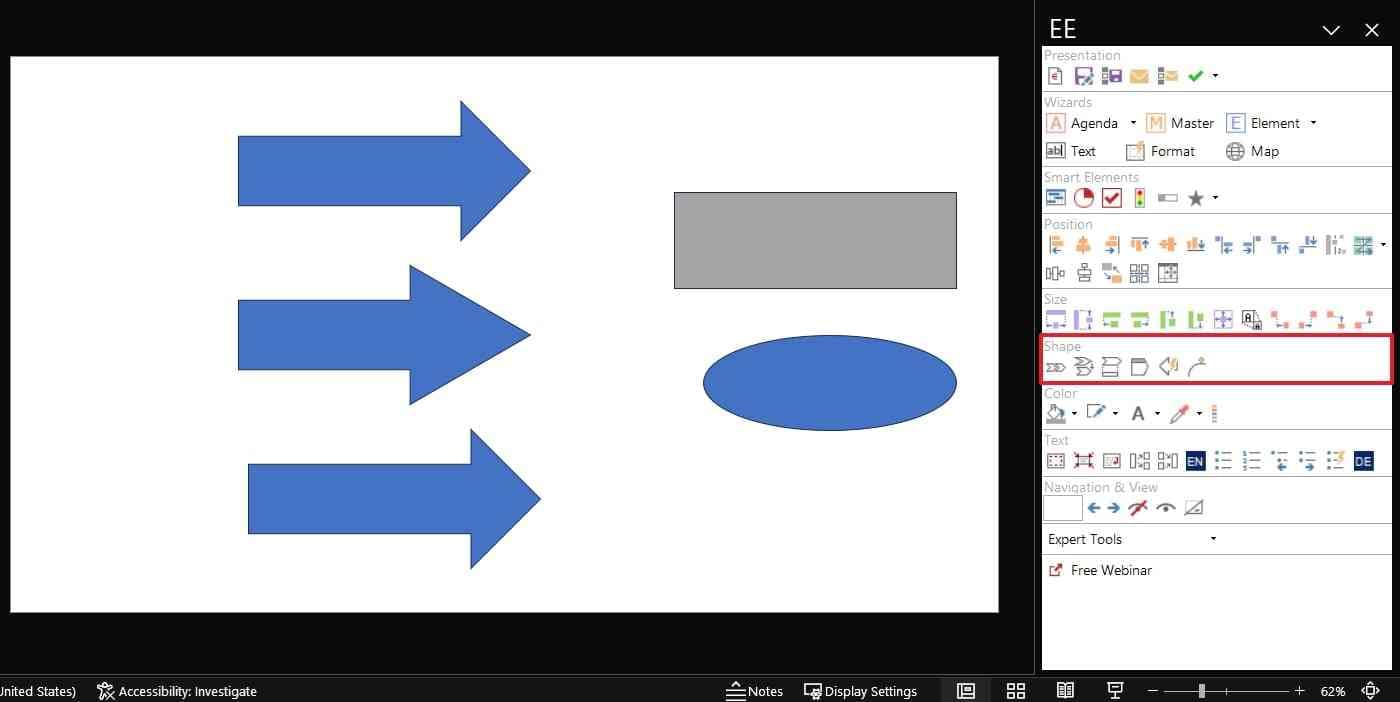
6. Color
The Color section lets you apply your corporate colors to all the slides. From the color palette, you can choose any desired color and apply it to the selected element. You can also manage fill, line, and font color from the options. You can also pick colors from any part of your screen or convert the selected color into RGB and theme colors.
Complete Instructions to Use the Efficient Elements Add-in On PowerPoint
In this section, we will provide brief details to use the major features of the Efficient Elements PowerPoint. Using its key features, you can edit and format your slides effortlessly. Hence, consider this section.
1. How to Build a Presentation by Adding Agenda Slides Between Topics or Sections
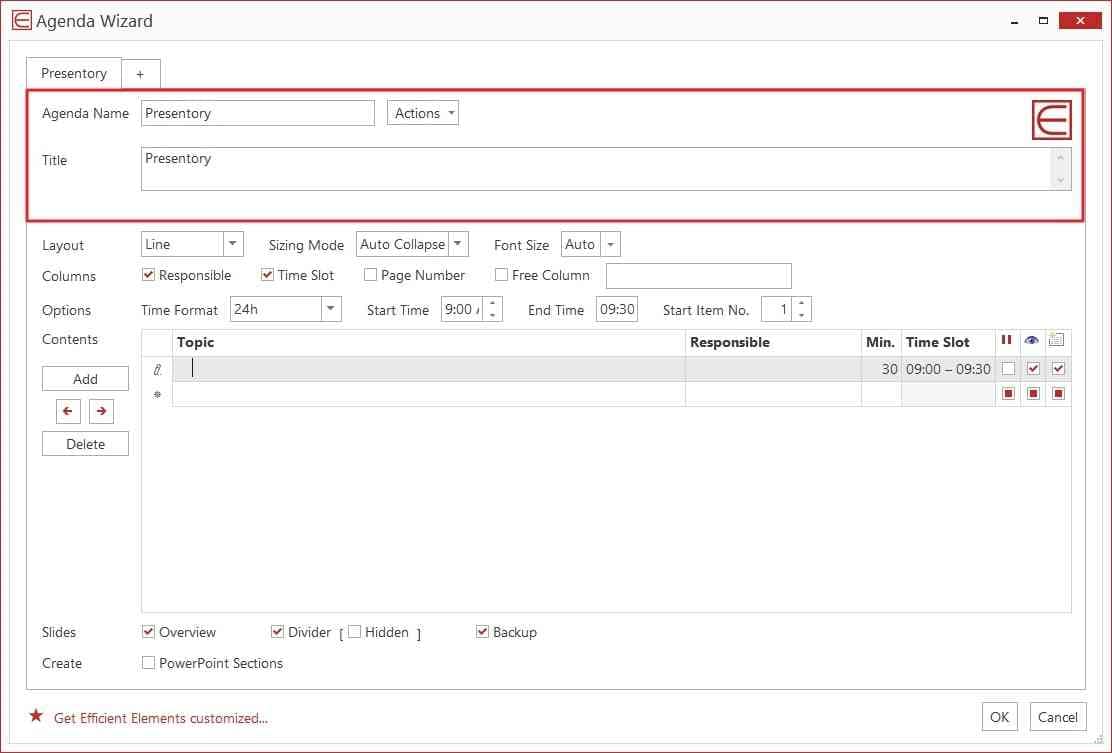
Step 1. After adding the Efficient Element add-in, click on the “Agenda” wizard. It will open a new window in which you can create agenda slides. From the window, add the agenda name, title, and subtitle. You can also manage the layout by choosing font size and sizing mode.
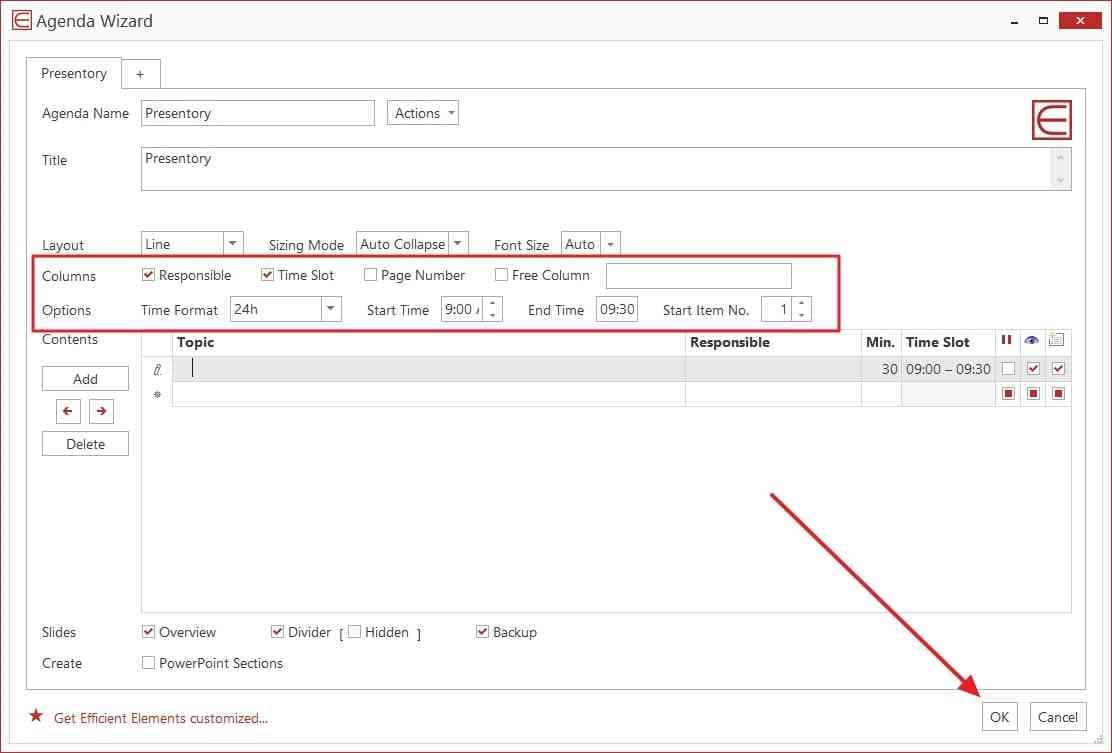
Step 2. You can also specify the agenda items from the Column row. From "Options," you can edit the time format, start timing, and end timing. You can also add and delete the contents, preferably. Once done, hit the “OK” button.
2. How to Use “Position/Size/Shape” to Make Adjustments of Customized Elements Precise and Efficient
Step 1. Your last selected object will serve as a master object. It will function as a reference point for alignment and positioning. After selecting the objects, you can navigate to the Position section. From there, you can align the objects with respect to the master object. You can also dock and distribute the objects from the given options.
Step 2. After adjusting the position, you can go to the Size section. You can align, stretch, and fill the selected objects according to your choice. You can also select “Magic Resizer” to resize the selected objects to absolute or relative value.
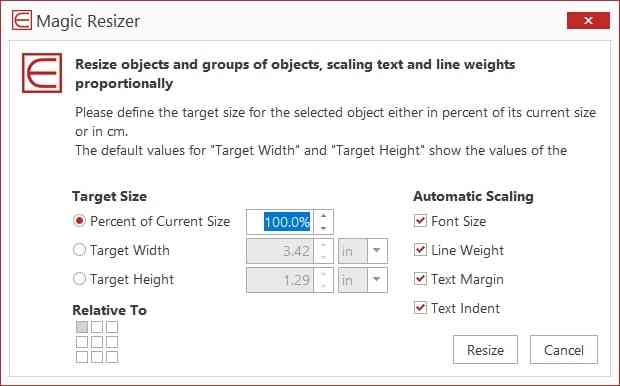
Step 3. Now, you can head to the Shape section to adjust the shapes of your objects. From the given options, you can align process chains and angles precisely. Similarly, you can align a rounded rectangular radius.
3. How to Use Colors Allowed By Your Corporate Design in the “Color” Section Instructions.
Navigate to the Color section and set the fill, font, and line colors of the selected objects. Through the color picker option, you can pick the desired color from the screen. Afterward, you can add it to your custom color theme.
Part 3. Presentory – Making your Presentation Creation Efficient and Impactful
To make the creation of presentations seamless, you can use an AI-powered tool. Wondershare Presentory is an advanced tool that can automate the generation of presentations. It offers many unique features to optimize your presentations. Through this tool, you can add transitions and animated effects to the selected slides. You can also insert colorful or themed backgrounds in the slides to add vibrance.
Moreover, try adding the stickers and text graphics from the given options. You can also use beautification effects to enhance your appearance. It will make you confident while recording or streaming your presentation. Hence, you should try Presentory to create presentations with the use of game-changing AI features.
Key Features
- AI Generation of Slides: You can add your presentation topics in the Presentory to create automatic slides. The tools will create a relevant outline and slides in your desired theme style.
- Pre-set Templates: This tool offers many popular and trending templates. Each template has its own unique layout and color theme. Thus, you can select your desired template that is relevant to your presentation.
- Stream Your Presentation: With a single click, you can start presenting your presentation on live-streaming platforms. It also lets you record your presentation with your adjusted microphone and camera settings.
- Collaborate and Share: You can upload and share your presentations in its cloud storage. In addition, you can password-protect your confidential presentations for additional security. Also, you can collaborate with your colleagues through its cloud services.