Nowadays, many people like to convert their PowerPoint to videos. By doing so, the PowerPoint presentation becomes accessible. This is because videos have the ability to engage the viewers. Through animations and music, a video can grasp the attention of the audience. Moreover, people can view your video presentation without compatibility issues.
Videos can also display your presentation in a storytelling format. It can present a clear and coherent narrative. Thus, it can be considered beneficial to convert PowerPoint to MP4. This guide will offer different solutions to convert PPT to video. Looking into this article, you can conduct PPT to MP4 conversion on Windows and MacBook.
Part 1: Converting PowerPoint to Video on Windows
To convert PPT to MP4, you can find various methods. However, this section will discuss the top 3 effective solutions. Using these methods, you can convert PowerPoint presentations to videos without hassle:
1. Trying the “Create a Video” Feature in PowerPoint
PowerPoint has a built-in feature to create a video. This option lets you directly export your PPT in a video format. It supports two video formats: MP4 and WMV. You can also choose different resolutions from the options, such as Ultra HD 4K, Full HD, HD, and Standard.
It also demands your narration and recorded timings. From the settings, adjust the time spent on each slide. Here are the steps that can help in converting PPT to MP4 on PowerPoint:
Step 1: Open the desired presentation on your PowerPoint. Go to the “File” tab and select “Export” from the left section.
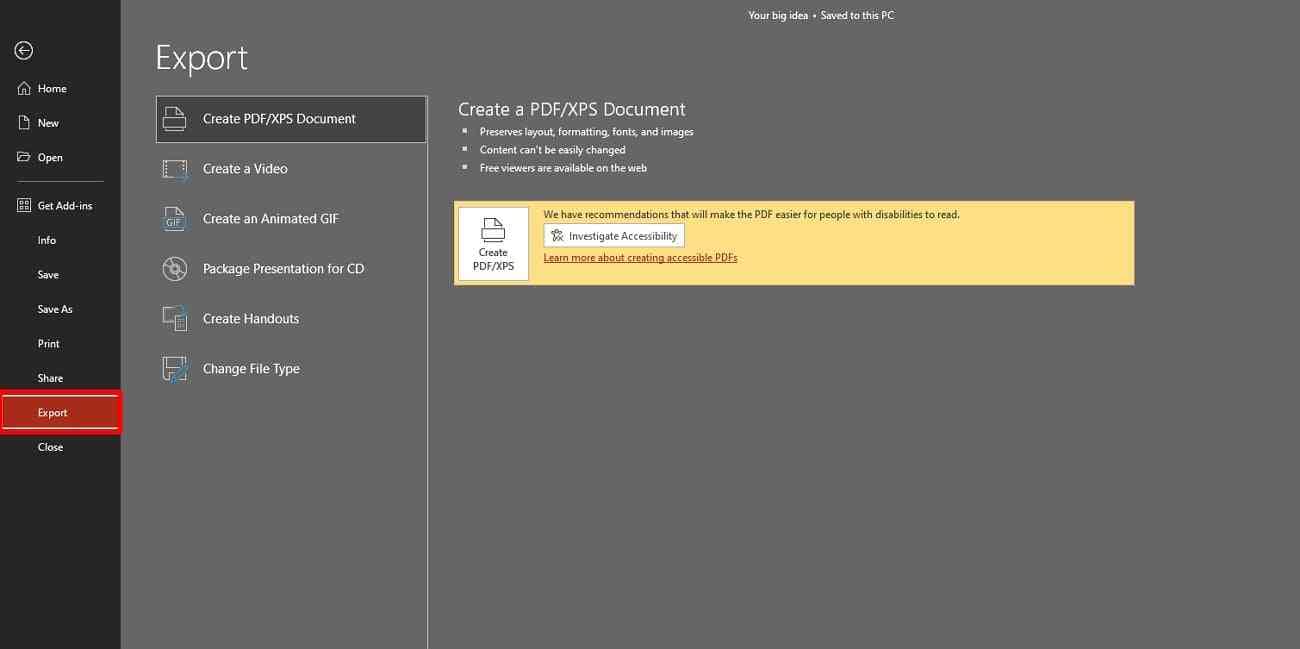
Step 2: From the available options, click on “Create a Video”. Select an appropriate video resolution and time duration. You can also select whether to include narration in a video or not. On defining all settings for the video, click the “Create a Video” button to continue.

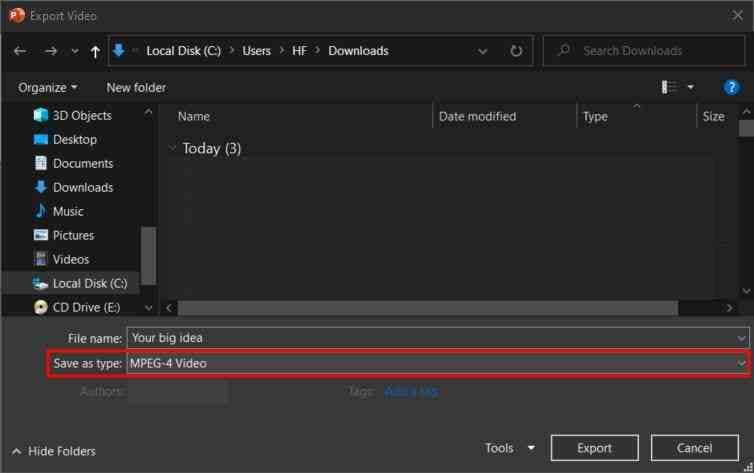
Step 3: This opens a pop-up window where you have to type the file name carefully. Afterward, choose the file type from the “Save as type:” option. Once done, press Enter to save the video in your desired location.
2. Use Presentory to Convert your PowerPoint to Video
Wondershare Presentory is a famous tool that is highly compatible with Windows users. You can use this tool as a presentation maker to create and edit presentations. It also includes AI features to enhance your productivity. You can directly import PPT slides on this tool. With its advanced screen recording system, it captures on-screen activities in the best way possible.
To convert PPTX to MP4, the screen recorder of this tool can be effective. You can use your microphone and webcam during screen recording. It also lets you add your voice narration to the presentation. With support from many live-streaming platforms, you can easily stream your video on different platforms.
In this part, you can find simple steps to use Wondershare Presentory. By implementing these steps, you can efficiently convert your PowerPoint to a video:
step1Select New Project
Begin by launching Presentory on your Windows. Open its interface and select “Create Video Presentation,” where you have to proceed by clicking “New Project.”

step2Import PPT Slides
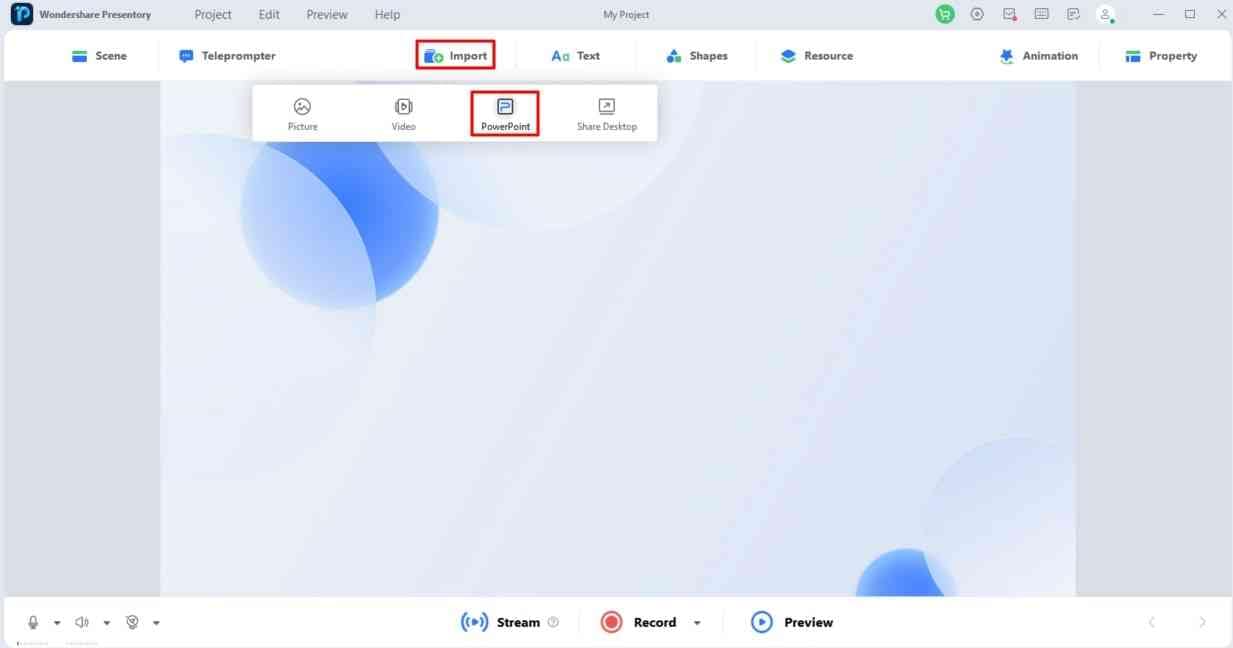
Once done, navigate to the “Import” option and tap “PowerPoint” from the drop-down. This will let you upload your PowerPoint slides on this tool.
step3Edit and Record the Presentation
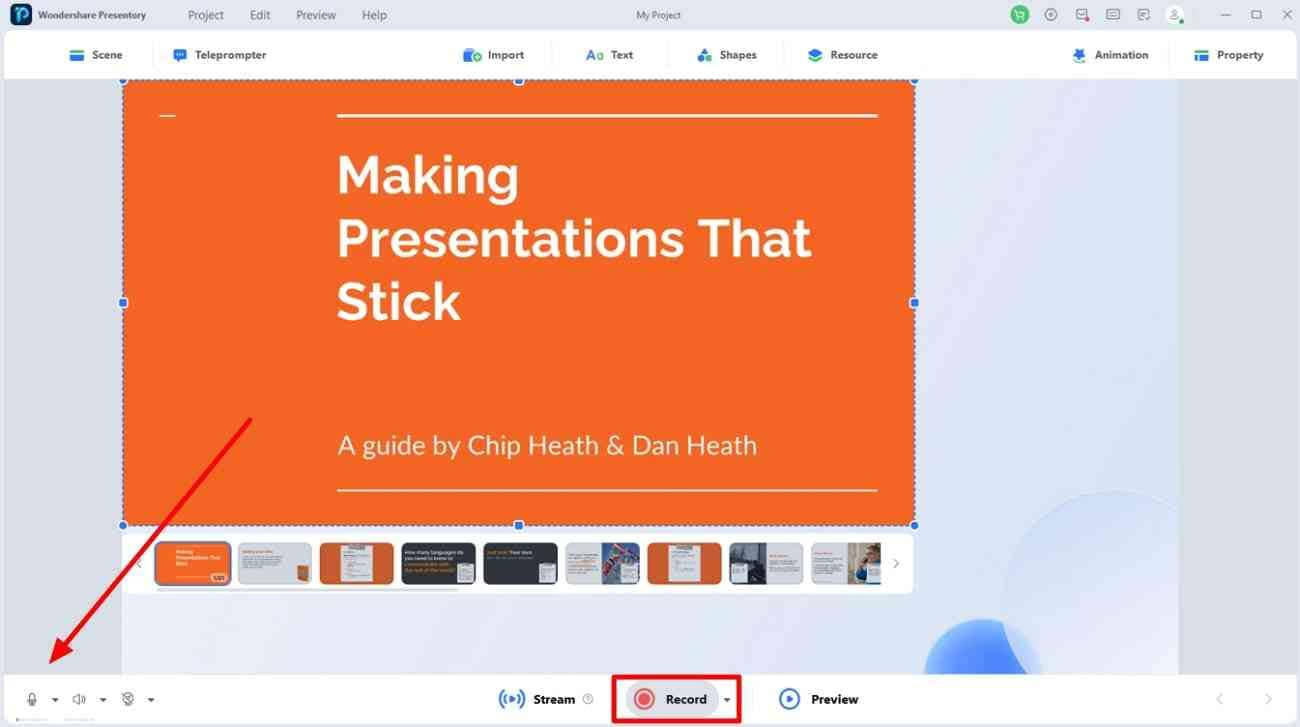
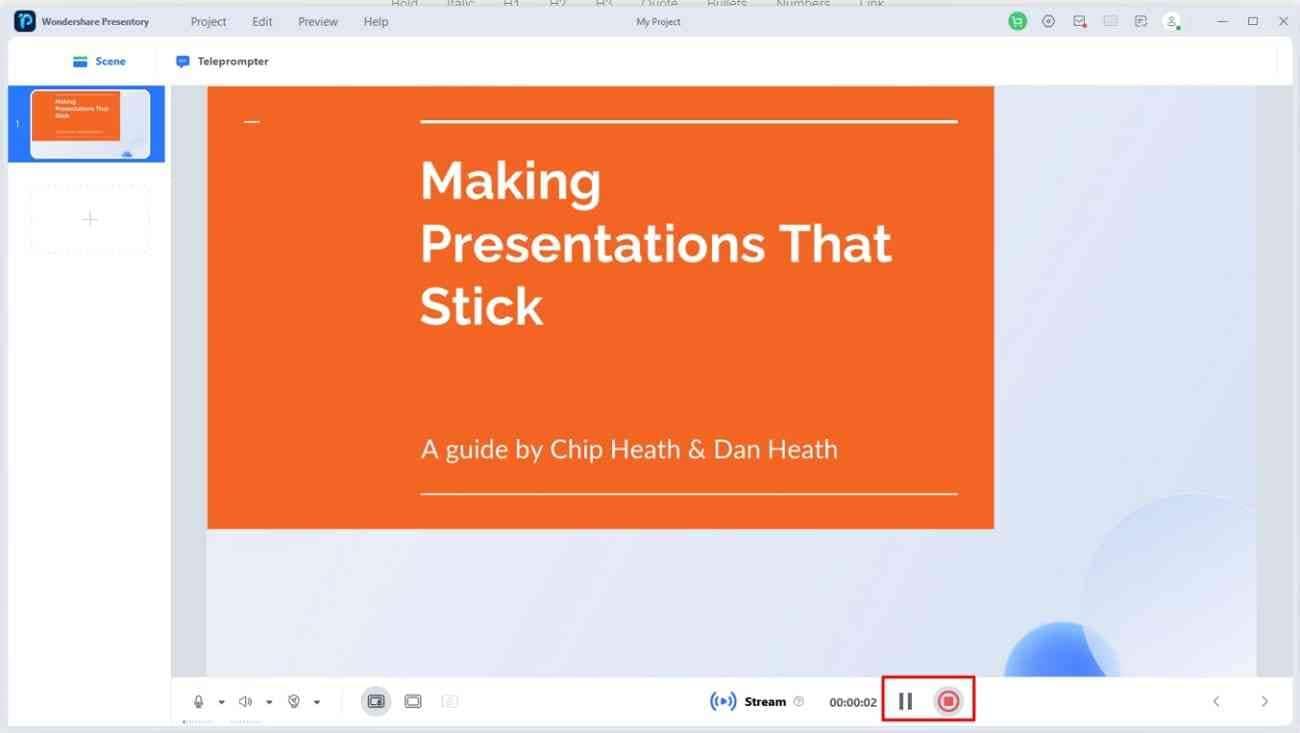
After uploading the slides, you can edit them by adding backgrounds, text overlays, and images. You can also apply animation effects and transitions. Meanwhile, enable your webcam and microphone to record the presentation. Once done, select the "Record" button to start exclusive recording of your presentation.
step4Export the Video
After the countdown, you can start recording your presentation. To end the recording, tap on the “Red” icon. Once done, you can export the recorded video presentation to the desired quality.
3. Use PPT to MP4 Converter
If you don’t want to launch desktop software, you can try online tools. VEED.io is a great example of a reliable online tool. It’s a powerful tool through which you can edit your videos. Among its various features, it provides a “PPT to Video” converter.
This function can convert your PowerPoint presentations to videos without losing their original quality. Thus, it’s a free tool and offers a simple approach to converting PPT to MP4, which can be discovered as follows:
Step 1: Access VEED.io from any web browser. Once done, locate its “PPT to Video” feature. By accessing its main interface, select “Convert PPT to video.”

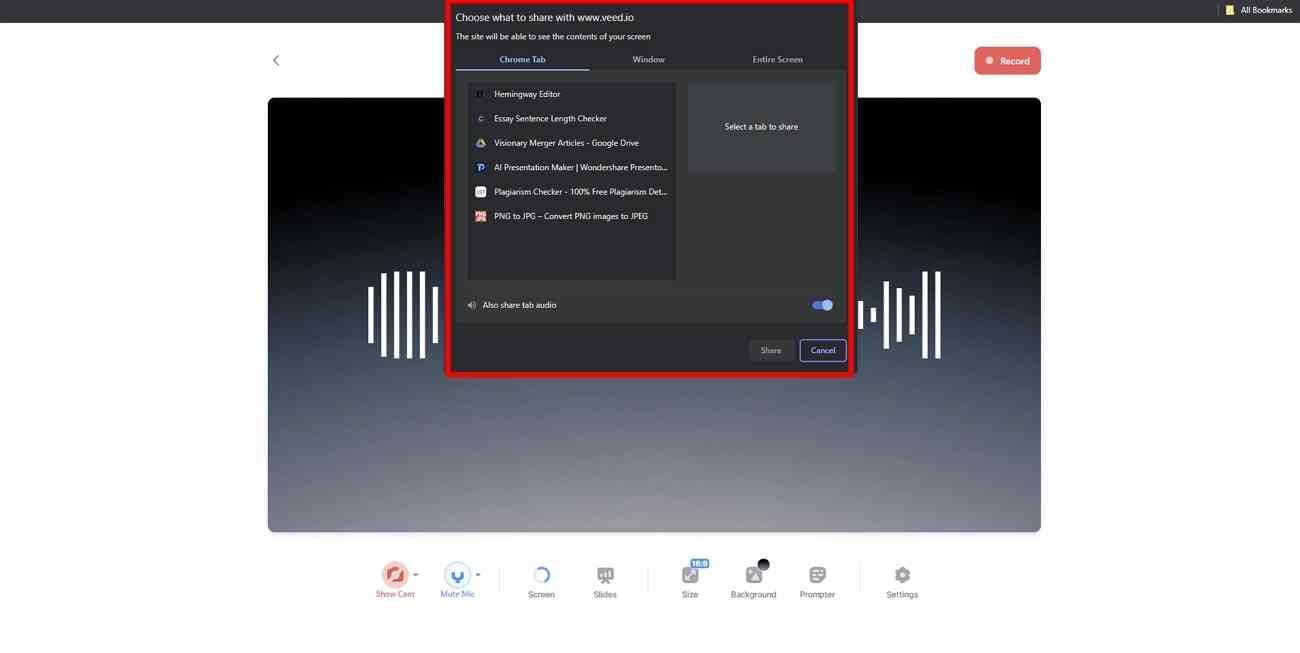
Step 2: Select any particular layout from the provided options according to your requirements. Tap "Allow" to give the tool access to your microphone and camera. Choose what part of the screen you want to share, ranging from the entire screen to a specific browser tab.
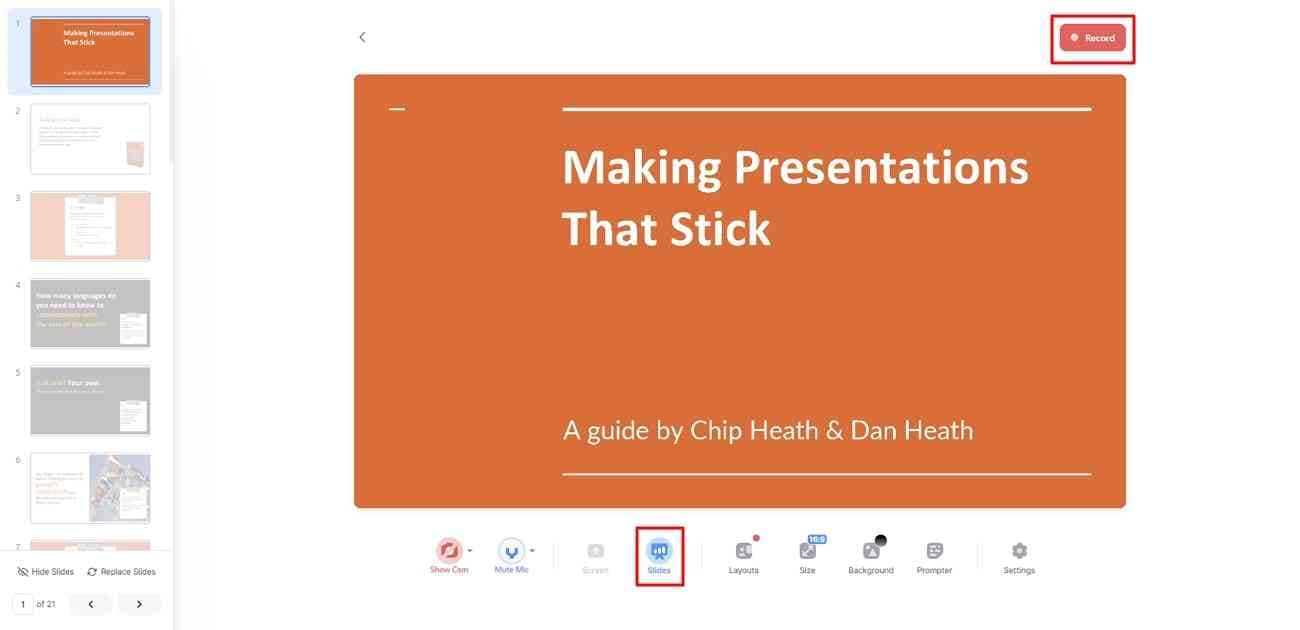
Step 3: From the given options, tap on “Slides.” This will allow you to import PPT slides on this tool. Once done, tap on the “Record” button. Now, you can record your presentation in the desired settings.
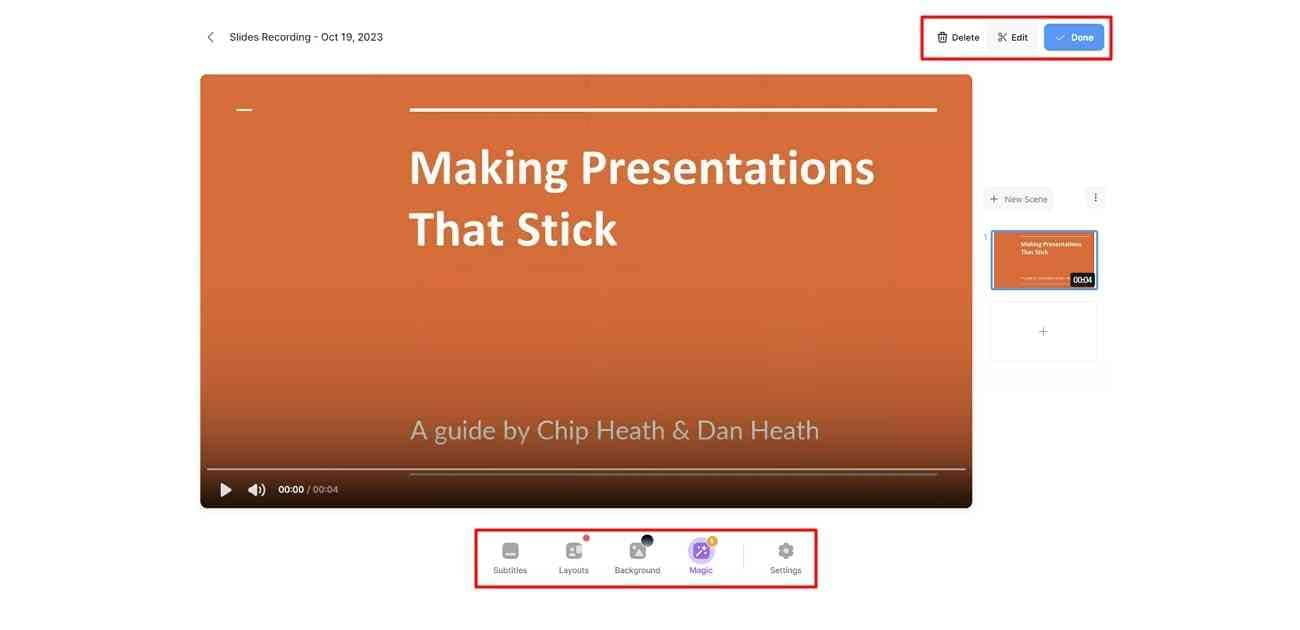
Step 4: After ending the recording, you can export the video in the selected resolution. Replace the background of your video and further edit the video using the offered features.
Part 2: Converting PPT to MP4 on macOS
Mac users can also try many ways to convert PPT to MP4. This section will highlight the two simple ways for the conversion of a PPT to a video:
1. Save Your Presentation in a Video Format
On your MacBook, easily save the presentation in a video format. The built-in feature lets you manage the quality and file size of the video. You can also adjust the timings of each slide. Thus, here are the instructions to follow for the conversion of PowerPoint to MP4:
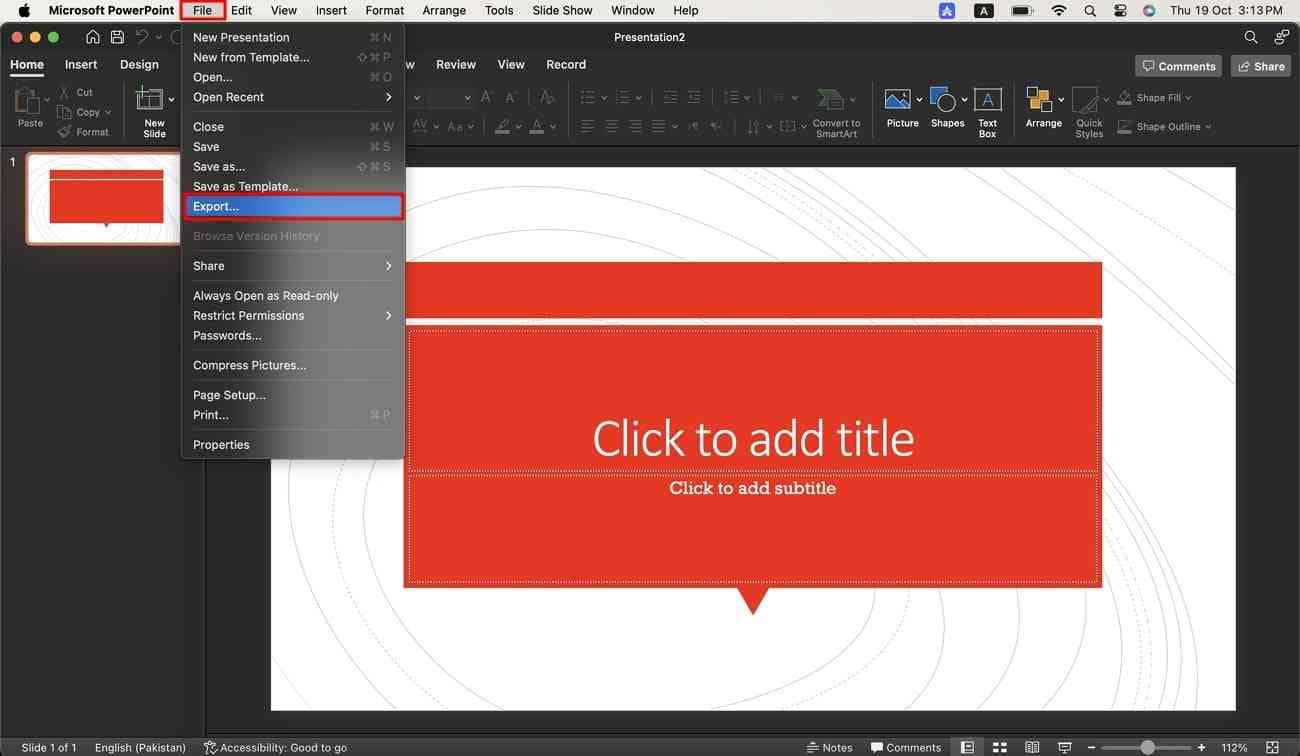
Step 1: After opening PowerPoint on MacBook, choose the desired presentation. Navigate to the “File” tab and select the “Export” option from the drop-down.
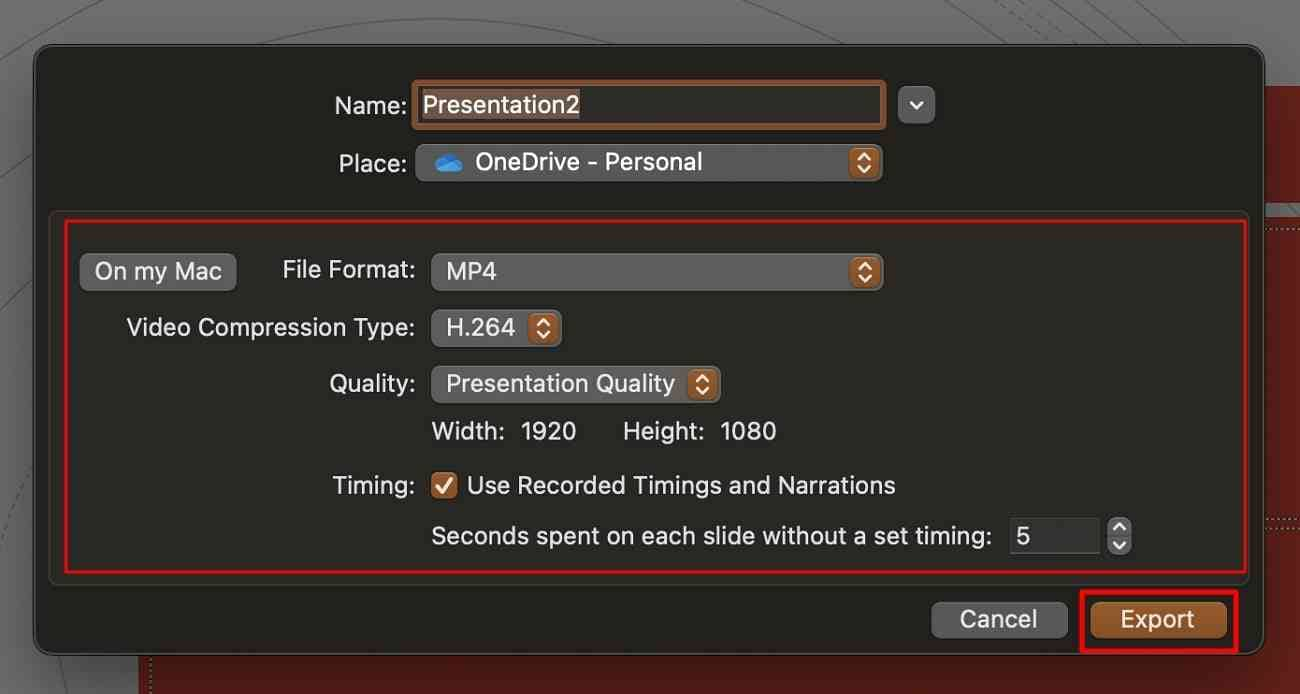
Step 2: A new pop-up window will appear on the screen. From there, choose the “MP4” option in the File Format tab. Now, adjust the quality and timings of the presentation. Moreover, you can check the box "Use Recorded Timings and Narrations." Once done, click the “Export” button.
2. Record your PowerPoint Presentation with DemoCreator
macOS users can also use a desktop tool for video conversion. Thus, Wondershare DemoCreator is the best option. This tool can function as a video editor with various features. Moreover, you can try its screen recorder to create video presentations. During recording, enable system audio, microphone, and webcam. Moreover, you can specify the capture area from the settings.
This tool also allows you to choose a recording scheme. You can either edit or directly export the recordings. Furthermore, you can use virtual avatars known as VTubers while recording. They can present your video presentation in a professional manner. Thus, DemoCreator is a great option for Mac users to convert PPT to MP4. Follow the below steps to learn how to use DemoCreator for video conversion:
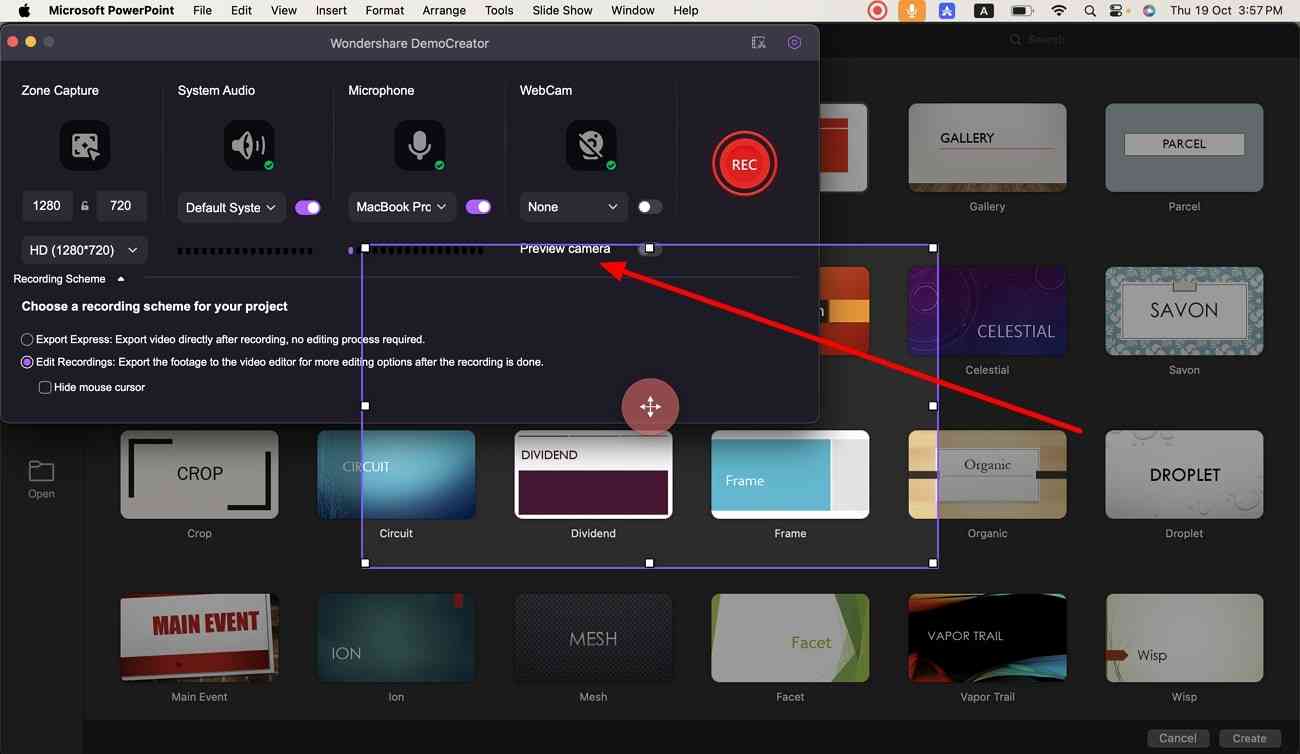
Step 1: Launch DemoCreator on your MacBook. On its main interface, select “New Recording.” Go to the “Zone Area” and customize the capture area. There are different options to choose a capture area. Once done, open the PPT slides on your screen. Adjust the input devices for recording and manage the settings of the microphone, webcam, and system audio.
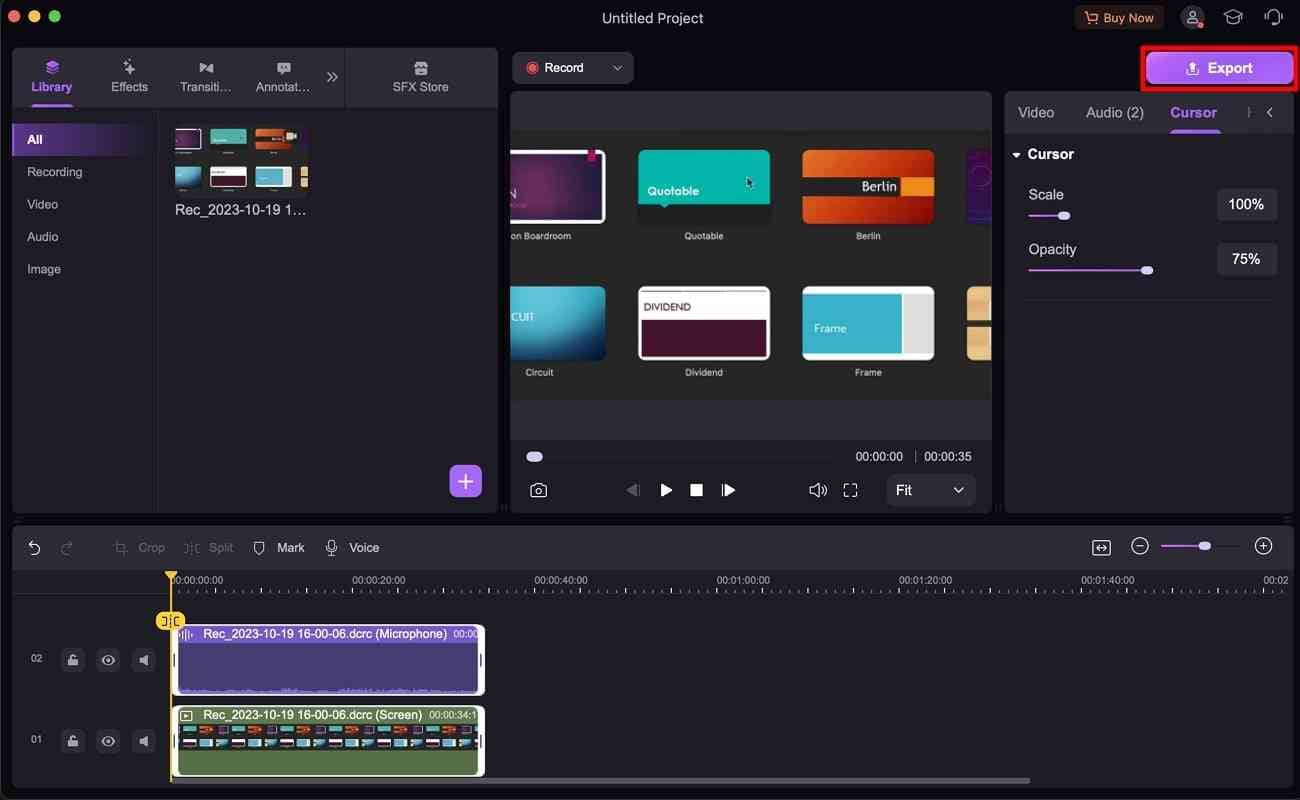
Step 2: Once done, click the “Start Capturing” option. After the countdown, the tool will begin the screen recording. You can pause and resume the recording and use the annotation tools during the recording. Once the recording ends, you can export the video.
FAQs
-
How do I convert PowerPoint to MP4 with audio?
To convert PPT to MP4 with audio, the process is simple. Enable the option called “Use Recording Timings and Narrations.” This will include the audio in a video conversion. -
Can I export audio from PowerPoint?
Yes, you can export audio from your PowerPoint. To do so, right-click the "Audio" icon and select "Save Media As." In this dialog box, name a folder and tap the “Save” option.